Springboot Hello World Example
This is a simple Springboot application that shows how to create a simple Hello World application.
Boostraping project
-
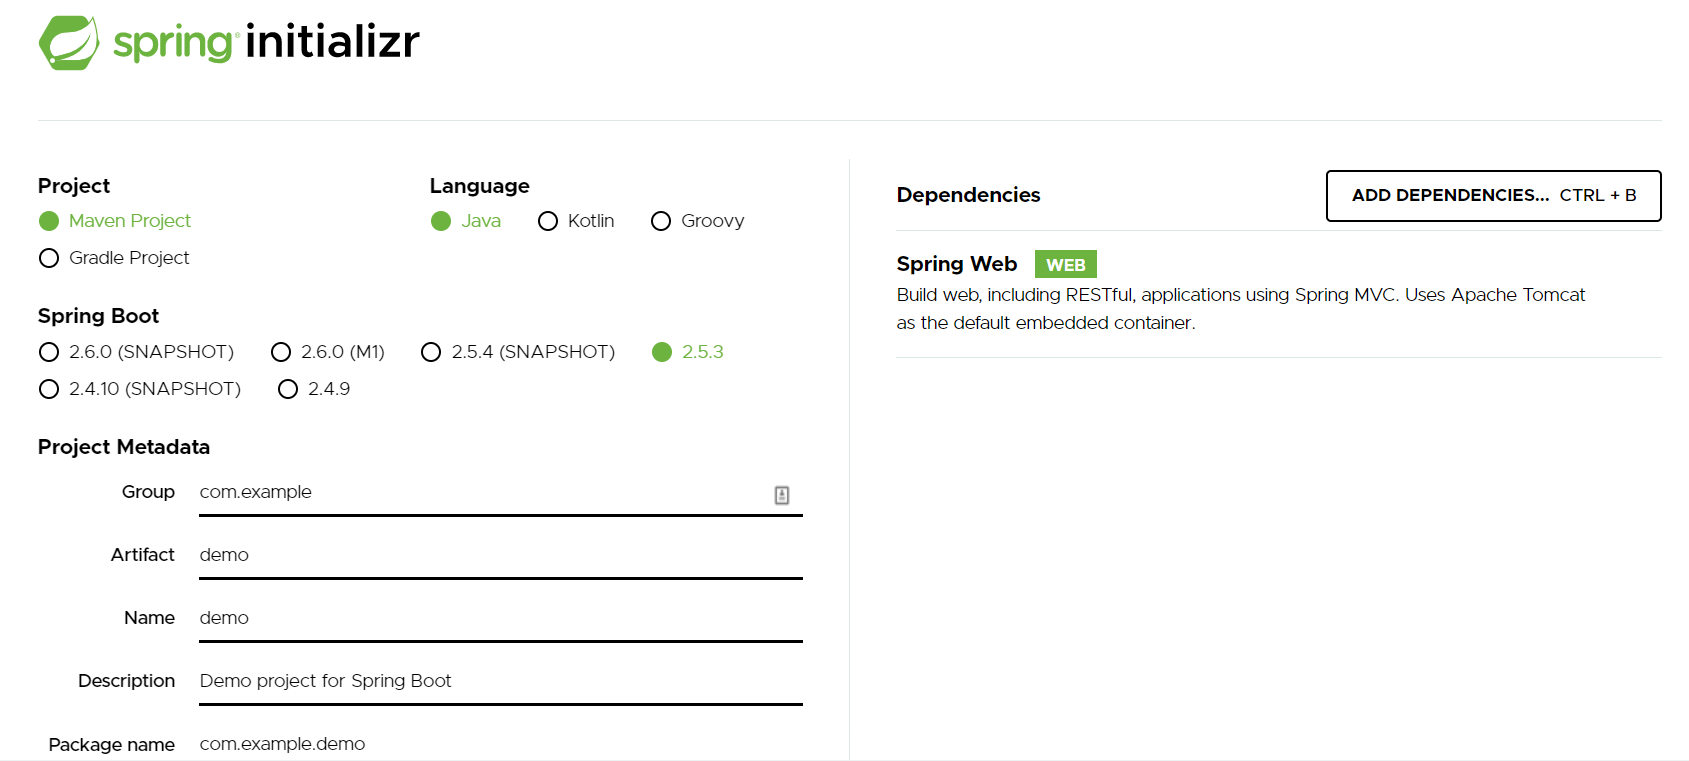
Create a new project using Spring Initializr .
-
Choose gradle or maven project.
-
Choose spring web dependency.

-
Explore the project and generate zip.
-
Unzip the file and open the project in your favourite IDE.
Creating the controller
-
Create a controller class in
com.example.springboot.controllerpackage. -
Naming convention for controller class is
{controller-name}Controller. -
Name the controller class as
HelloController.javaas we are going to create hello world app. -
Add @RestController annotation to the controller class to specify that this is a rest controller and is also responsible to serialize java objects to json.
-
Add the @RequestMapping annotation to the controller method to specify the url path.
-
Add the following code to the
HelloController.javaclass.1@RestController 2@RequestMapping("/hello") 3public class HelloController { 4 @RequestMapping("/") 5 public String hello() { 6 return "Hello World"; 7 } 8}
Running the application
- Run the application using gradle, maven or from main class.
- Using Gradle:
gradle bootRun. - Using Maven:
mvn spring-boot:run. - Using main class: Run the application using
main()method. - Now you can access the application at
http://localhost:8080/hello. - You can see the hello world message.

